Tag Archives: Cultivation

Mushroom Growing Kits

Mushroom kits are a great way to get started growing mushrooms.

Mushroom growing kits can be purchased online. They come in quite a variety of mushrooms. They produce fairly well and don’t take up much space. The different types usually involve sawdust and grain of some sort. The bag is complete with the growing substrate and spawn. The only thing left to do is to water them and put them in the right place to incubate. The directions vary but are usually detailed and clear.

Shiitakes take from 2 to 4 weeks to start flushing, and might flush for up to 16 weeks after. They need a temperature between 50 and 80 degrees.The kits are similar to how production mushrooms are grown. Most of them are grown on blocks kind of  like the kits, for fast production.

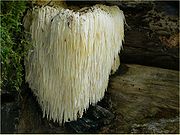
Lions Mane

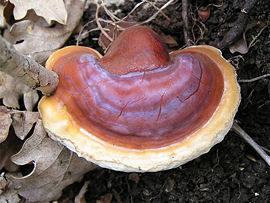
The selection has become incredible in the last few years.You can find just about anything from Lions mane to Reishi. These kits would be a good start for beginners, and when done flushing, can be put to use in a mulch pile or outdoor experiments.

Reishi

Mushroom growing kits can be found online at Garden City Fungi and Fungi Perfecti, links on the homepage. Some stores carry the kits so watch for them.

Organic Mushroom Cultivation

Organic Mushroom Cultivation is critical for health and safety.

Most mushrooms concentrate, whether it is nutrients, minerals or toxins. They will grow on varied substrates so it becomes very important how and where your mushrooms grow. When using them for food it is important, but when using them for medicine, it seems crazy to put poison in your body when trying to heal! Organic is a good start, but it can be cheated, and I like to know exactly what my mushrooms have been exposed to.

Growing on trees and stumps seems organic and in most cases can be called organic, but it is necessary to know where these trees grow. Trees growing by busy roadways absorb toxins from exhaust as well as tires and brakes. Mushrooms then concentrate these toxins, and release them to the consumer. Substrates whether from farms or forest need to be scrutinized for contaminates.

Organic is a buzz word right now and I am glad people have been awaken to this worthy cause. Large agriculture and big business is in it for the money. They will grow on whatever is economically feasible, within our weak, and vague organic rules, to turn a buck. This should not be confused with what you or I consider to be organic, and safe.

The only safe way to know what you are eating, is to grow or pick it yourself. The only other way is to know your farmer, support them, and pay them well!

Article on Shiitake Cultivation

From an article at Chelsea Green; http://www.chelseagreen.com

The following is an excerpt from Fresh Food from Small Spaces:The Square-Inch Gardener’s Guide to Year-Round Growing, Fermenting, and Sprouting by R. J. Ruppenthal. It has been adapted for the web. Preview the book here.

Some of the most expensive and delicious gourmet mushrooms on the market are shiitakes, which also are credited in Asia with healthful properties such as lowering cholesterol and improving immunity to cancer. They are simple to grow in logs and take about 6 to 18 months to emerge. They can fruit in a wide range of temperatures, from just above freezing to nearly 90 degrees F. To grow shiitake mushrooms on logs, the process is as follows. You will need some hardwood logs (such as oak or beech) about 4 to 6 inches in diameter, a strong drill, shiitake spawn (preferably a strain that is suitable for your growing area; check with the supplier for more info), a hammer, and some hot wax (such as cheese wax or candle wax) that can be melted to seal in the spawn.

  1. Obtain hardwood logs. Logs that were cut recently are best, but let fresh wood sit at least six weeks before using. Leave the bark on if possible.
  2. Drill rings of holes in the log 1 inch deep. Space the holes about 6 inches apart and space the rings about 1½ to 2 inches apart. If possible, alternate the holes in equal spaces and with a zigzag pattern.
  3. Into these holes, insert the shiitake spawn. You can order this from suppliers in three forms: inoculated wooden
  4. dowels, loose sawdust, or pressurized sawdust pellets. If you get them in dowel form, pound these into the drilled holes with a hammer. Otherwise, insert the sawdust spawn into the holes.
  5. Most people like to seal in the spawn with hot wax, which provides a sterilized outer edge and prevents insects or animals from interfering during the incubation period.
  6. The mycelium typically will take 6 to 18 months to grow out through the wood. During this time, you can store the logs in a plastic bag in the garage or on the ground outside, covered loosely with a plastic tarp. Make sure to punch a few holes in any plastic covering you use to allow for adequate airflow.
  7. Keep the log moist by watering when necessary with nonchlorinated water. Under ideal conditions, the plastic will help maintain humidity, but during dry spells, you should water gently as often as twice per week. Other types of log-raised mushrooms need direct contact with soil (via a partially buried log), but shiitakes do not.
  8. The shiitakes will continue to bloom regularly for 4 to 5 years from the same logs. They will appear on their own schedule, but always remember to keep the logs a little moist. One secret to triggering a bloom (after the first bloom cycle) is to soak the log in ice water every two months or so. Mushrooms will appear within a week or so following the ice water treatment. You may want to alternate which log you soak so that they do not all bloom at once.

I believe anyone can be successful with mushroom cultivating at a basic level, but if you want to grow specialty varieties or turn this into a commercial pursuit, then you have a lot more to learn. Like any complex undertaking, you will need to research it well, read some books, network with a local group of mushroom enthusiasts, and learn through your own experimentation.

——

And now, that cartoon I promised….

shittalky.png

Conifer Coral

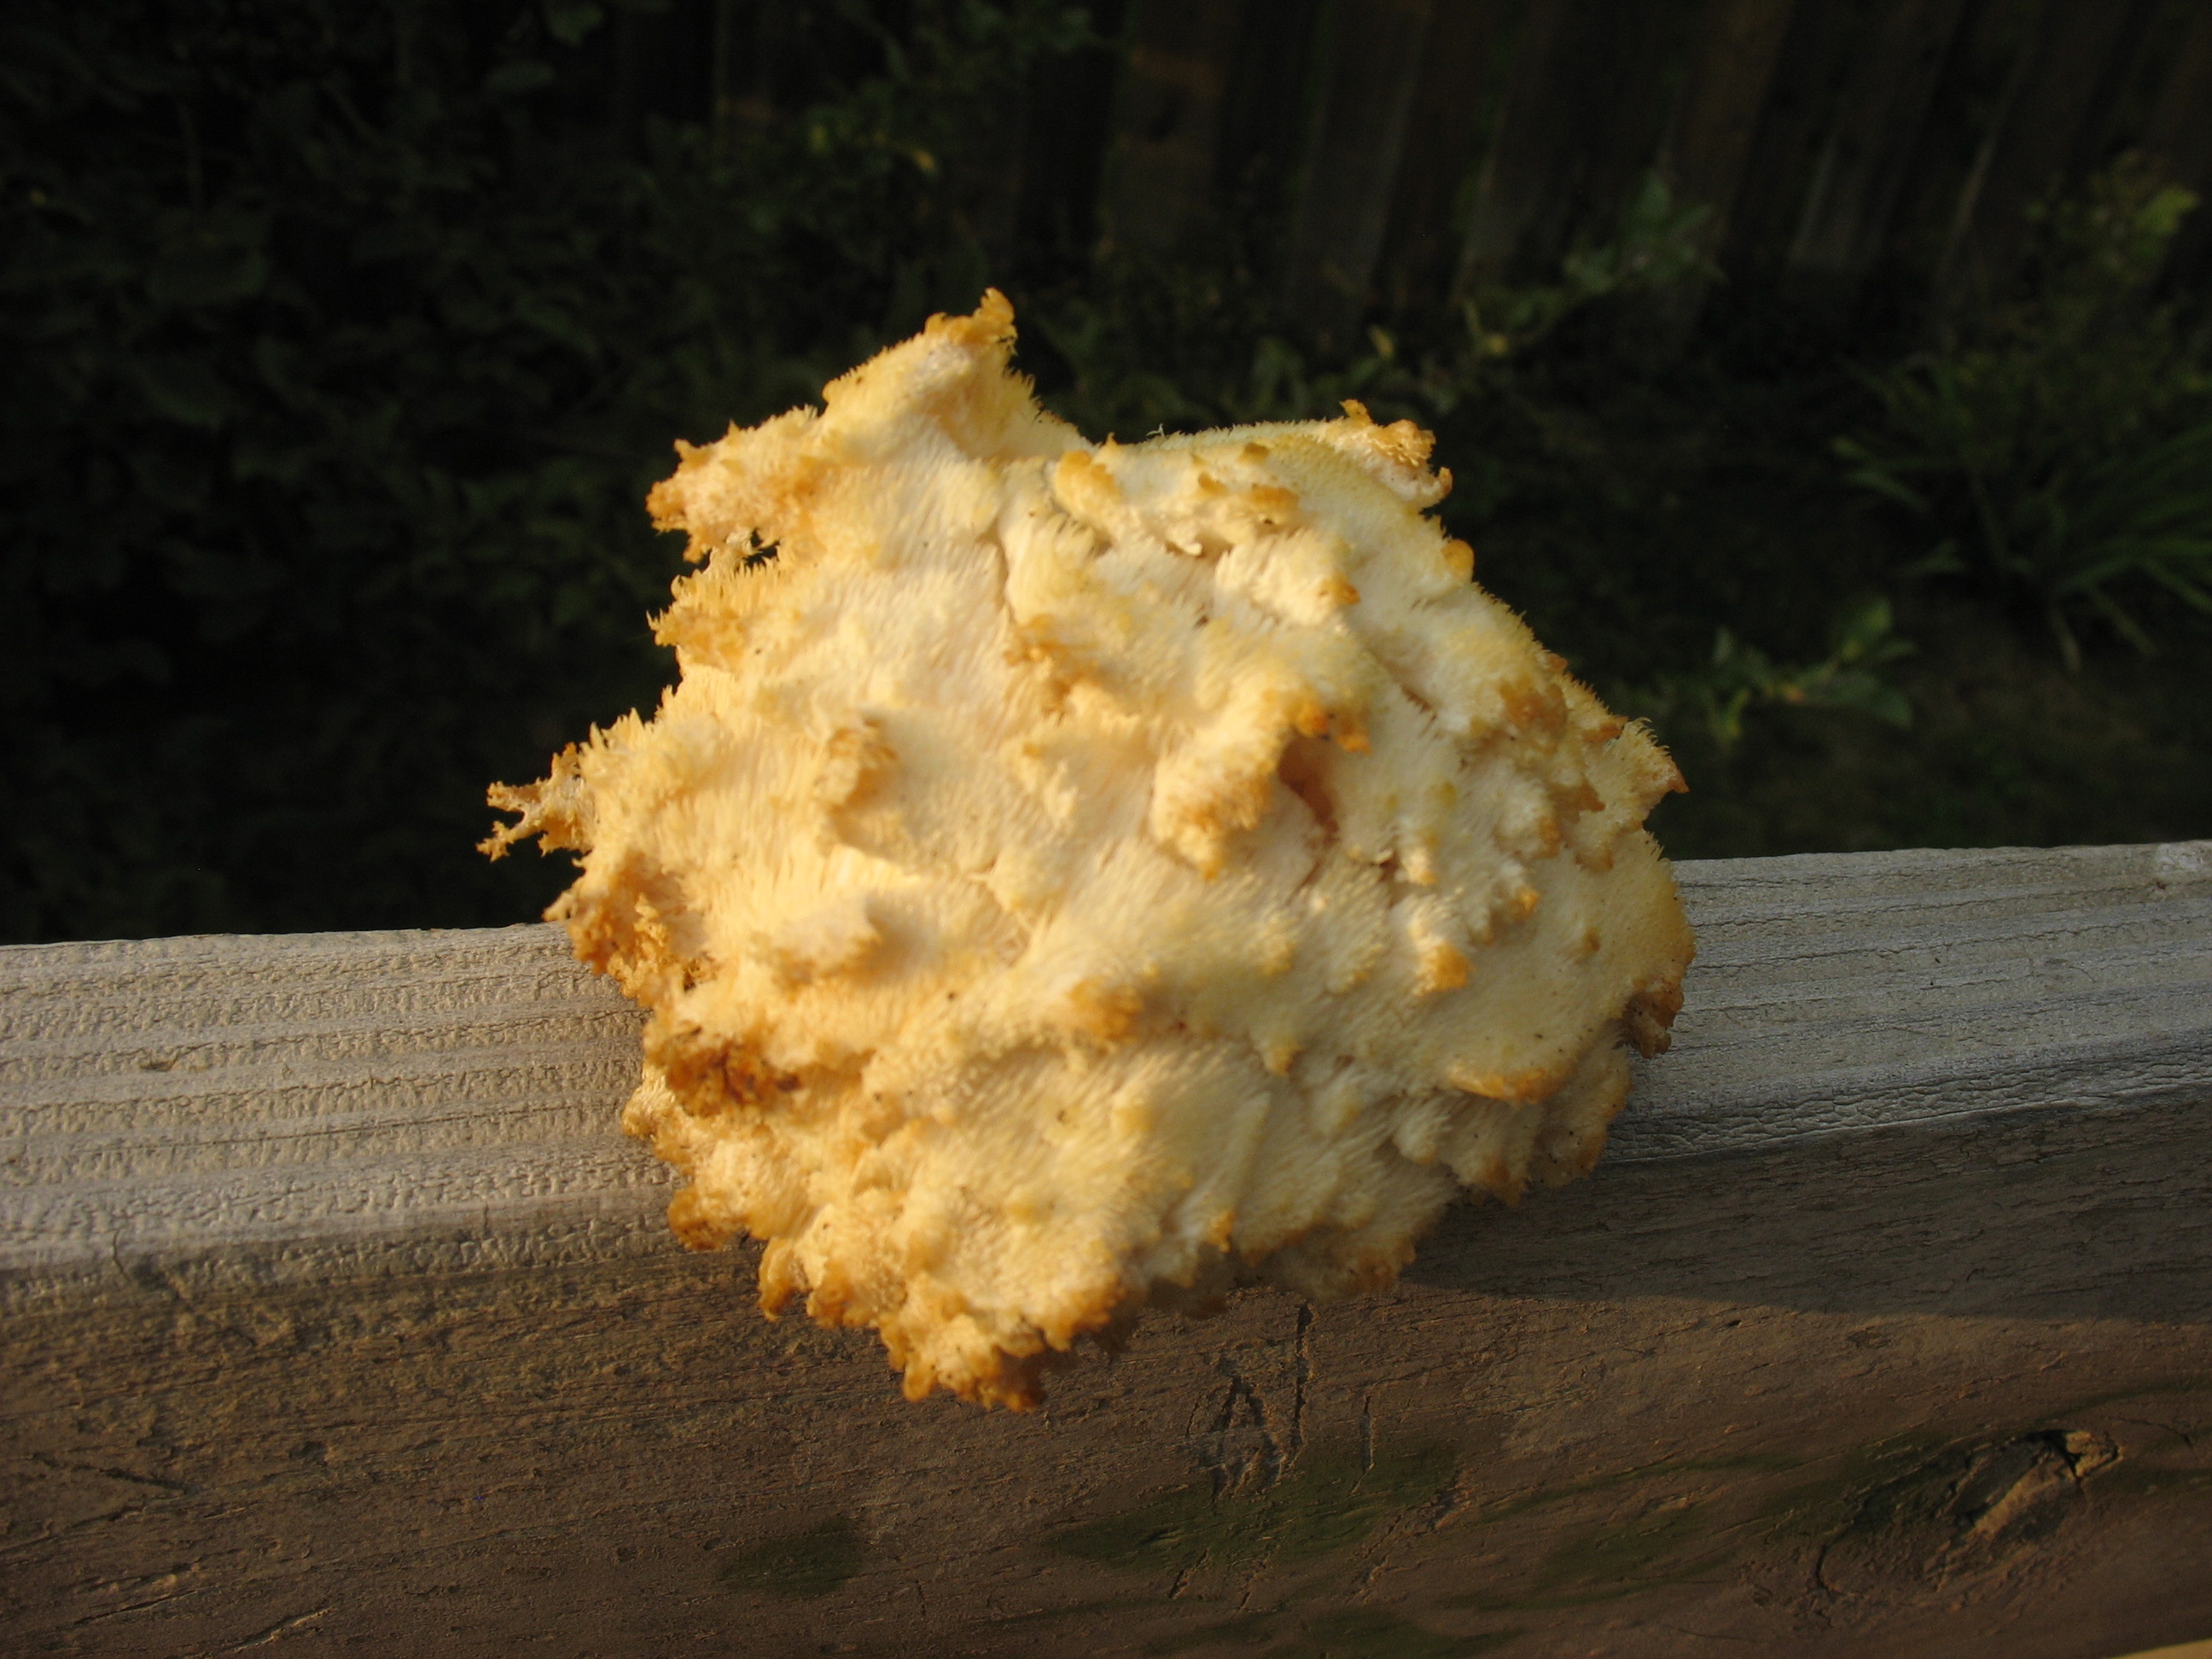
The Conifer Coral, Hercium abeitis,  grows on pines and would be a good candidate for inoculating pine stumps.

Conifer Coral

I have seen this mushroom growing from partially submerged logs. The fact that it enjoys this habitiat leads me to believe it would be happy growing from stumps. Literature from places that sell plug spawn for this mushroom (Fungi Perfecti) support the theory.

The Conifer Coral is from the Hericium family and is related to the Lions Mane which is a beatutiful mushroom also. They are both choice edibles and are easy to prepare.

I am going to spread this mushroom around to some pine stumps this year. There are plenty to inoculate with the pine beetle kill. I encourage you to do the same.

Mushroom Cultivation Workshops

Mushroom Cultivation workshops are a great way to learn mushroom growing and meet other mycophiles.

The second mushroom growing workshop I attended was this last October at the Bioneers conference. This was given by Glenn Babcock of Garden City Fungi in Missoula, MT, gardencityfungi.com. The idea with this workshop was to use a Master spawn to inoculate spawn bags for the participates to take home and establish an outdoor mushroom bed.

The workshop started with an interesting history on Shiitake mushroom cultivation. Then there was a presentation on general mushroom cultivation and life cycle. There was a question and answer session and then we got into the spawn creation.

The master spawn was from Garden City Fungi’s production Oyster spawn. It was in a space bag with a filter to allow gas out and to keep contaminates from getting in. The space bag is essentially a plastic bag with a filter and it is partially filled with sawdust fortified with oats. The bag is then sealed and sterilized. After cooling, the bag is then cut open and inoculated with Oyster spawn by pouring some spawn from the master bag into the space bag and the bag is then resealed. These master spawn bags can be expanded from 1 to 10.

The bags were then taken home by participates to start an outside mushroom bed. The bag was allowed to rest until the mycelium spawn consumed the substrate turning the mixture from brown to white. We were then instructed to remove vegetation from a small area and fill the space with hardwood chips. The space bag was cut open and spread on the wood chips and covered with leaves. The bed is to rest through the winter and flush next spring or fall.

I received a partial bag of master spawn left over from the workshop. I was cleaning up our garden at the time so decided to try and get the spawn to grow on corn stalks. The corn stalks were harvested and thrown in a plastic tub. The stalks were showing signs of mold so I was not sure it would work. The stalks were broken up just enough to fit in the tub and the tub was filled with water. After soaking over night the tub was drained and the spawn was mixed into the wet cornstalks. The tub was covered loosely and left outside since the temperatures at that time, November 1, were between 40 and 60. Acceptable spawning weather for oyster mycelium, but not warm enough for mold. The tub was left outside until the temperature started dropping to freezing at night. I am happy to report at that time the spawn had spread very well for coarse material and the project was brought into my garage. When the weather gets warmer this spring the tub will be put outside and with some luck mushrooms should flush. Checking on it this week the mycelium has spread throughout the substrate and is busy consuming the stalks.

I will report on the status of both the outdoor bed and tub experiments as they progress on this site. With a little luck and planning I should have lots of oyster mushrooms to eat this spring and fall!